- Jan 3, 2014
- 262
- 0
- 0
Crasstoe, could you maybe post links to the product pages of the adapter and macro filters? Maybe a tiny mini-guide for us non-knowledgeable?
Thanks!
Okay people, mini guide on DIY DOF adapter is here. If I am patronising at all I apologise - it's been a long day at work.
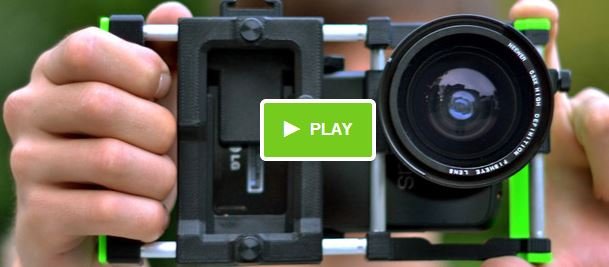
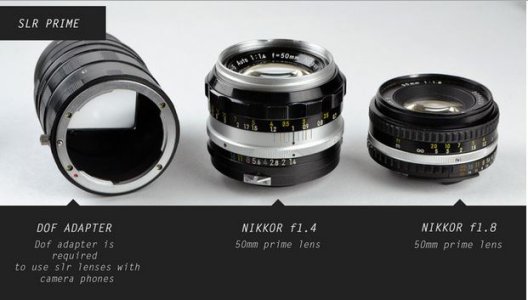
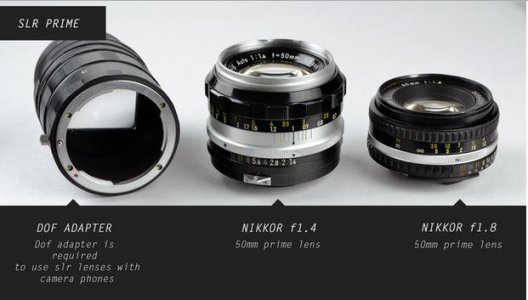
The reason you would use a DOF (Depth of Field) adapter with the beast grip is so you can attach SLR lenses to your phone, simple really. A DOF adapter works by giving the SLR lens something to "project" it's image onto, and you then focus your phones camera to the screen. The downside to this is the more you put between the SLR lens and your camera the darker the image gets, so this isn't really ideal for low light stuff without long exposure times.
The first thing you need to do is decide what fitment lenses you are going to use. This is paramount as this affects the whole adapter. I chose to go with M42 (42mm screw fit) lenses, this would allow me to use some very cheap but well reviewed lenses that are readily available. The mount you choose to go with affects the FFD (Flange focal distance) of your lenses, and this is how far you need your "screen" from your lens mount, and this is the first part of the DOF adapter that we will make. FYI, the FFD of an M42 lens is 45.5mm (near enough!), and a guide to mounts and their FFDs can be found here Flange focal distance - Wikipedia, the free encyclopedia
So you know how far your screen needs to be from your lens, "what's next" you ask, well you need a screen! This is also known as the GG (Ground Glass), and this can be made from almost any translucent material. Some people use CD cases, some use plastic film, most however will use the Focusing Screen from an SLR. I opted for the screen from an old 35mm camera that I found on eBay.
STANDARD FOCUS SCREEN for the PENTAX SFXn FILM SLR , CLEAN . | eBay
Okay so you have a screen and lens, now for a tube to hold them at the right distance together. You want an object called a Macro Tube. Now, the size of macro tube you go for is dictated by the size of your Focusing Screen. My screen corner to corner comes in at 41.5mm, meaning as long as my macro tube is bigger than this I am all good. I went for a 42mm macro tube as this is the same size as the M42 lens I have chosen (meaning less step up rings). The macro tube I went with can be found here; Macro Extension Tube Ring Set M42 | eBay
I ordered 2, as I wanted tube 2 and 3 together to go between the focusing screen and the lens (comes to 46mm), and I would need a tube to go the other side to connect to the BeastGrip.
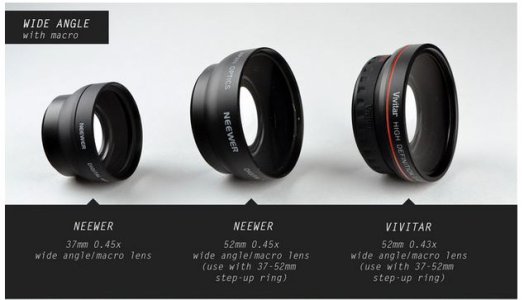
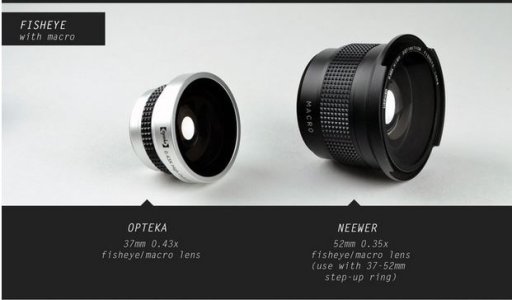
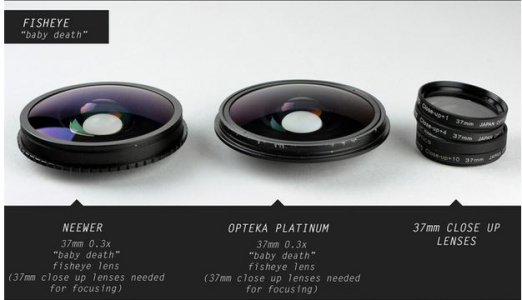
Now the problem with the 1020 is the focusing distance, it can only focus further than 15cm, a pain. This can be corrected with Macro Filters or Close Up Lenses (many names). This means the 1020 can focus closer than before. This takes a little trial and error. I went with a 37mm set of 4 that can be found here Digital Concepts 1 2 4 10 Close-Up Macro Filter Set with Pouch (37mm) | eBay
The benefit of these lenses is they can be stacked to magnify further. Seeing I want the DOF adapter to be as short as possible I want to magnify as much as possible without causing a Vignette effect (this is where you can see the edge of the lens in frame). I stacked the 10x, 4x and 2x lens on top of another (one more would be too many). I then attached the spare 20mm macro tube from the second set I picked up, between the macro lenses and the DOF adapter, this turned out to be perfect.
Now I need to attach this contraption to the BeastGrip, this is easily done with a 37mm -42mm adapter that can be found here 37mm-42mm 37-42 mm 37 to 42 Step Up Ring Filter Adapter | eBay
Obviously this is dependant on the size of the macro tube you go for.
Now I had a CPL (Circular Polarizing Lens) from an old camera that I fancy being able to use, so researching the lens I have chosen I found it has a 49mm filter fitment, and my filter was 62mm, so a simple step up ring was needed, which can be found here 49mm to 62mm 49-62mm 49mm-62mm 49-62 Stepping Step Up Filter Ring Adapter | eBay
So you want to know what this thing looks like? Here are some pictures;


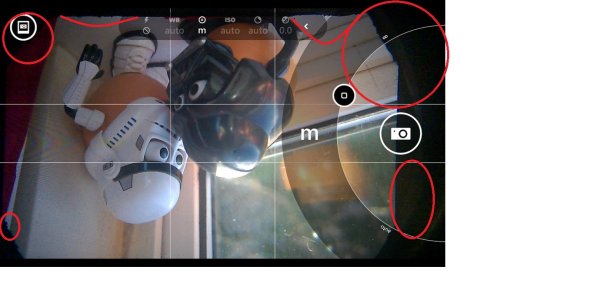
The duct tape is so I know which ring to mount the Focusing Screen to (It is currently held in with blutac to see if I had everything right). Here is a photo sample, it's a bit poor due to low light and the focusing screen not being straight, and I didn't zoom in to make the screen full size, but you get the idea;

Now the image you see on your phone will be upside down, it's just the way lenses work. On iPhones there is an app (nearlySLR or something like that) which allows you to "flip" your viewfinder which rectifys this issue, on WP we simply have to live with it. I have contacted Nokia asking for this feature to be added to Nokia Camera but we shall see if it gets through.
I will post an update on mounting the Focusing Screen properly soon, and will post some pictures showing how it works in decent light and once all the lenses have been properly cleaned, they are filthy at the minute! Getting excited about how this is going to turn out!
Here is a quick drawing (plan?) of the parts I have used;

I am going to try and source another 10x macro filter to replace the 2x and 4x to try and bring the screen closer to the camera meaning less digital zoom, less glass between the screen and camera (meaning less glare) and to help shorten the DOF adapter, but if I can find something stronger I will.
Let me know what you think guys! :smile:
Last edited:


