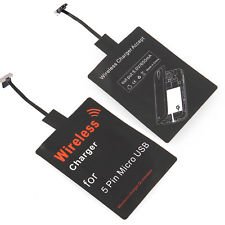
After using the above Qi receiver for a while I decided to connect it internally to get rid of the external wire and be able to use the u-usb again. A precondition for that is you can connect a usb cable with the Qi receiver still connected, without destroying it. A diode might protect it but that will cause a lot of loss. I tested what happens when you connect 5.5V to the output of the receiver (while it is not active). This caused a current of 1.65mA, stable over a long time. This is 8mW, should be no problem.
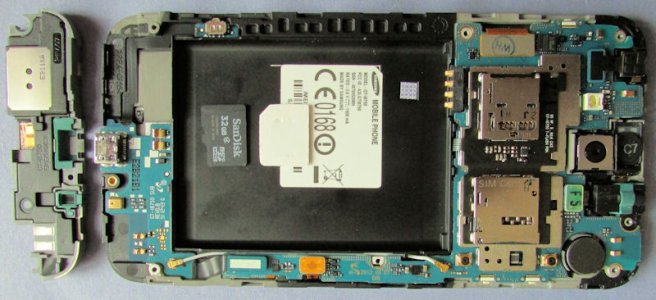
Opening the Ativ was easy, after removing 7 screws I could do it with my nails without damage. Below a picture of the PCB and the u-usb cover with the speaker. It clearly shows the speaker is connected to the contacts close to the u-usb, so soldering on the u-usb is unavoidable. Don't know what the other 2 contacts are for.
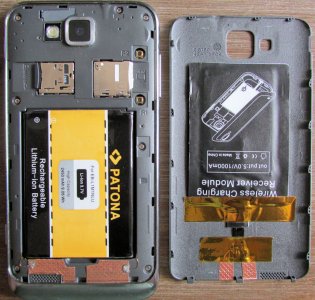
I soldered 2 very thin wires to the left and right large pads of the u-usb, forgot to make photo's of that. Next photo shows the result, I could lead the wires to the left and right corners of the battery compartment. After a first try the wires were cut there, so I had to do it again, now I removed some plastic from the battery compartment to save the wires. I glued the QI receiver to the back plate and used copper tape to form a contact. If the back plate is mounted with the 3 pins first, it will give sufficient pressure on the contacts (after cleaning the copper tape with alcohol). We'll see if it works over time, otherwise some spring construction may be necessary there. But for now on the outside the Ativ looks like original again!
.jpg")
.jpg")


 Windows 10 Themes no longer working...
 I'm looking for a CalDAV, CardDAV client for Windows
 Twitter