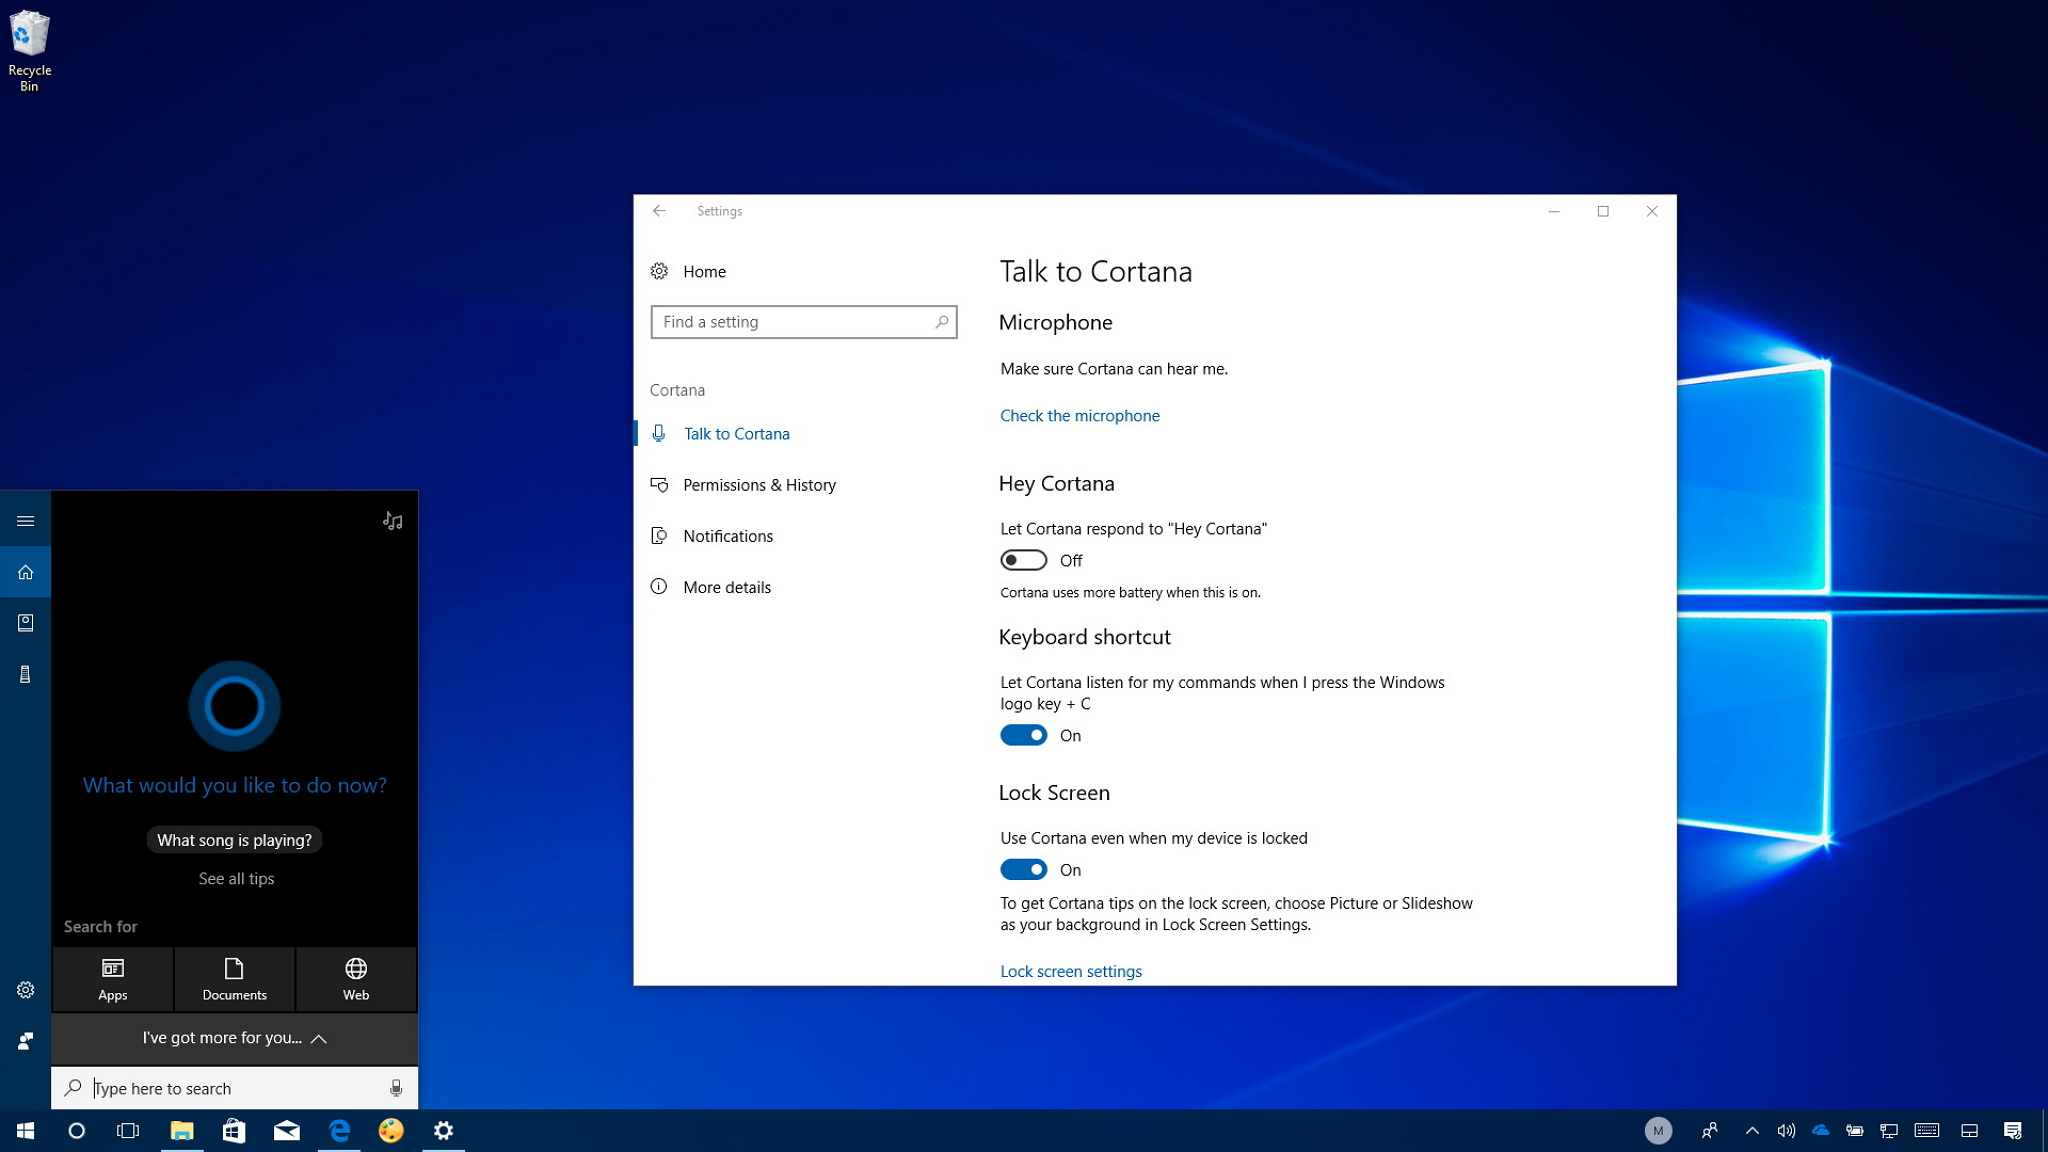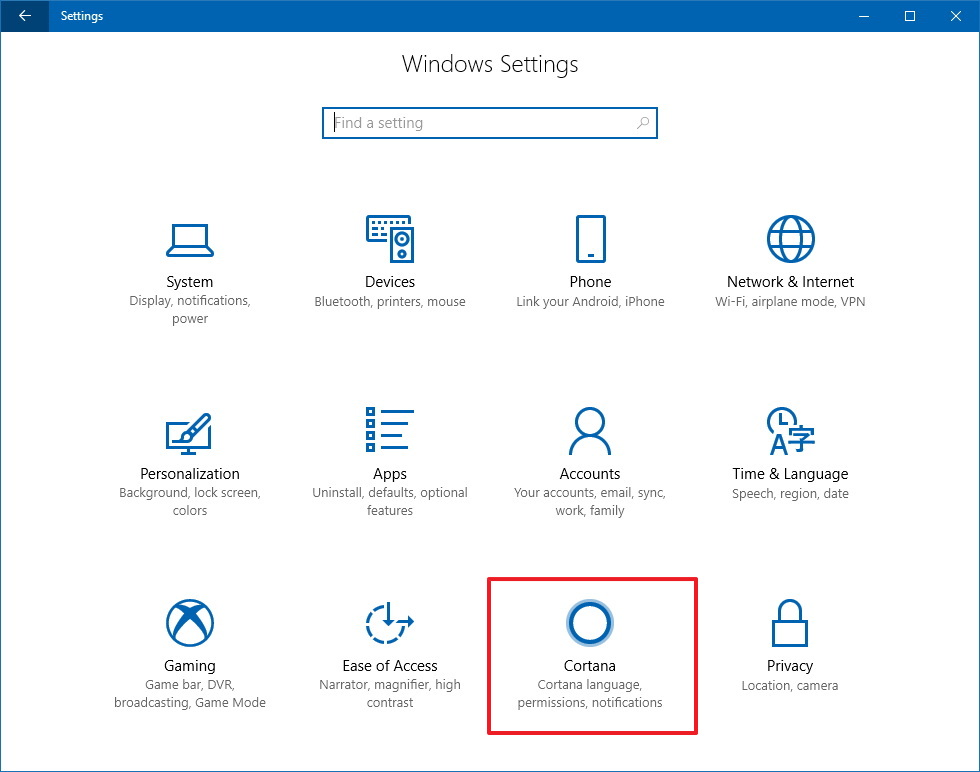
The Windows 10 Fall Creators Update brings Cortana's options to the Settings app, and in this guide, we'll show you the steps to manage them.
Cortana is one of the biggest features of Windows 10, which has been designed to perform a wide range of tasks to help you get things done. The only caveat is that it's been rather confusing to know where to find its settings, as many users have been looking into the Settings app to customize its options. But only to realize that the assistant has its own settings page inside the app, which it's not a very obvious place.
However, the Windows 10 Fall Creators Update is changing that, and it's finally relocating the Cortana customization options to the Settings app to make them more discoverable.
[h=2]Cortana in the Settings app[/h]After installing the new update, opening the Settings app, you'll notice a new Cortana section that is divided into four pages.

The Talk to Cortana page includes all the basic options, such as "Hey Cortana," the ability to enable the assistant about the Lock screen, and change language settings.
The Permissions & History page allows you to set the search filter levels, omit cloud content on searches, control history settings, and you even get the option to decide whether Cortana can access your location and other information to improve the experience.
Full story from the WindowsCentral blog...


