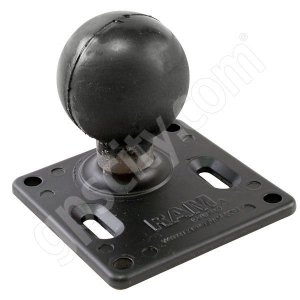
So...I was just getting absolutely sick of the cr-200. I previously had a custom dash mount in my car (I had on dash and windshield mounting options, and luckily there's a pretty big Honda S2000 community and one company has made custom accessories for years [modifry] so I started a little project.
So I already had the modifry custom mount, I've had in in my car since I first got my Lumia 900 and it worked great
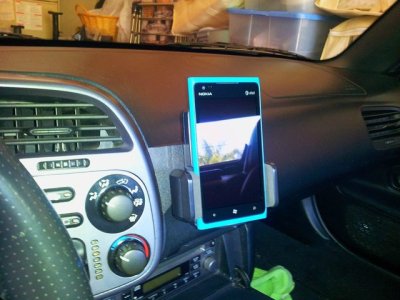
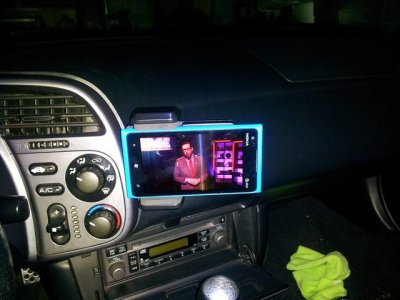
Video
https://skydrive.live.com/redir?res...60&authkey=!AAgj6AMjYfxPQYw&ithint=video,.mp4
Once I got the Lumia 920, I bought a right angle microUSB connector, spliced into the original cable wire that I had running through the dash, test fitted the proper mounting position, then used some JB Weld to fabricate an opening for it and then sealed in in place so whenever I got into my car, the 920 would just slide in.
The 1020 didn't work as well (the hump) so I thought it was a good time to try the cr-200, but was really disappointed to find that there was no way to adjust the tension on the mounting ball. It's effectively useless for any phone that is heavier than the Lumia 925, unless you're wanting to custom make your own bracket, I would actually say do not get it unless you have something that is around the same weight as the 925 or lighter.
But anyways, here's what I got done on thanksgiving. Should have taken more pictures, but I was in a bit of a rush.
I skipped a lot of steps, but first...there are 4 screws that are underneath the suction cup, if you lift up the corners of the suction cup you'll be able to unscrew these one at a time, then the entire suction cup portion comes off.
Then after that there are 3 screws that hold the main portion of the charger and it's rotating ball assembly to the main arm portion, those are easily accessible. I don't have any pictures of those first two steps because i did them a long time ago. But in all honesty, if you're looking to do what I do, you can just completely skip them anyway.
Easist part, just look to the back of the cr-200 mount, there's a very short stem which leads to the mount, just use a pvc cutting blade, or something like a dremel and cut right through it. Easy going.
To use the existing portion of the mount I had, I needed to give it a 5mm or so riser so that the back of the mounting screws I had could stay in place w/out actually touching the mount itself. So I just fabricated a maybe 1.5 inch by .5 inch strip, used some sandpaper to make the surface rough, and did the same on the back of the bare cr200 (after I had sanded down the remnant of the stem to make it even and smooth) to allow them to stick better after putting them together. I used Loctite (my favorite) ultra gel control glue. Then I simply used some more Loctite to affix the heads of the bolts to the backplate I fabricated (out of more ABS plastic) and was basically ready to roll.
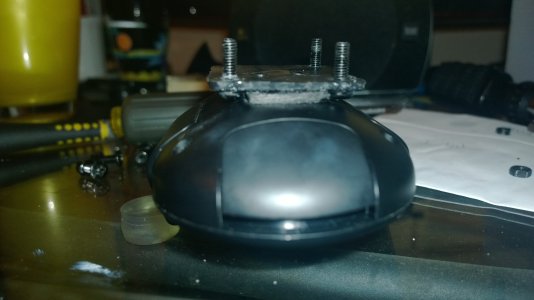
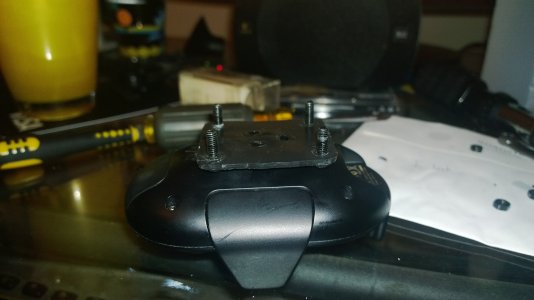
Then after that, putting it back on my exist mount and the existing parts I had previously part was super easy.
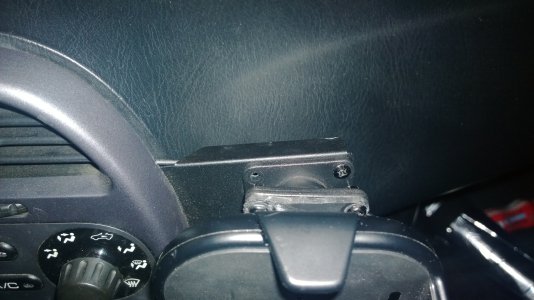
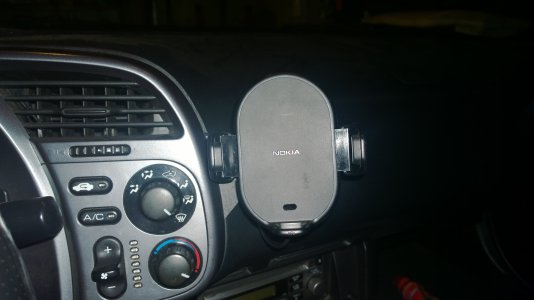
So now that it's actually mounted to a mount where it allows me to adjust the tension, this thing holds in place just fine. I can even tap on things while I'm driving, swipe to change songs, etc w/out having it move which is ideally the way that it should be.
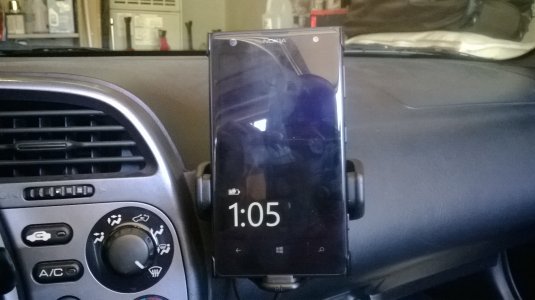
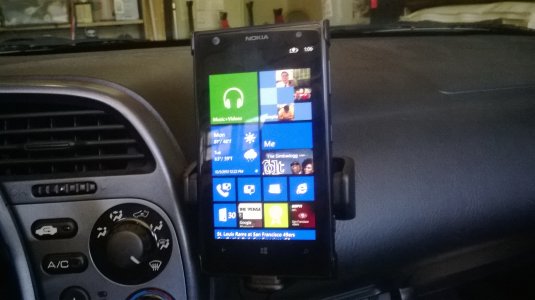
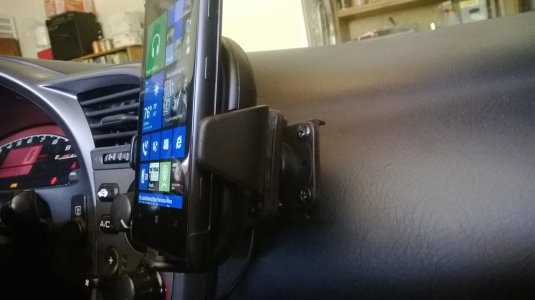
If you don't mind obviously voiding the warranty by hacking into it, then I would high recommend this. It's honestly turned this into a mount that I initially wanted to return, to a product that I love because I just put my phone on and slide the arms down.
And BTW, for anyone that things you can get that portion of the cr-200 where the actually charger attaches to the ball...you can't. I completely took the cr-200 apart, removed the arms, and even had to remove the wing arm mechanism to see that it can't be done. After spending 20 minutes carefully putting it back together, i'm pretty convinced there's no way to take it off other than removing it. Which is a shame because then you could have simply attached something like this w/out having to hack it off.
