- Mar 1, 2014
- 187
- 0
- 0
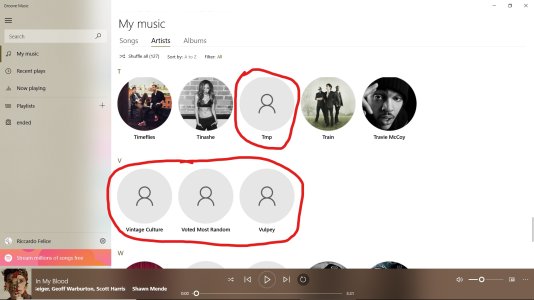
Hey guys!! So I know there are quite a few people who want to change most of the images that Groove Music uses as but not limited too Artist Images, Artist Banners, Live Tiles etc. The process does take a while but If you are hell-bent on changing them, or if you prefer another image it is possible!! Groove music stores all these images locally; I am not talking about Album covers.
Programs you need:
Photoshop CC
CMD
Step 1.
Ensure ?View Hidden Folders? is ticked. To do this open start menu and search for ?Folder Explorer Options?. Once opened click View. Under Hidden Files and folders tick ?Show hidden files, folders, and drives?.
Step 2.
Navigate to this address in explorer: (Where USERNAME is you own)
C:\Users\USERNAME\AppData\Local\Packages\Microsoft.ZuneMusic_8wekyb3d8bbwe\LocalState\ImageCache\20
Step 3.
Back up all these files anywhere, such as a separate folder.
Step 3.
Now inside the original folder it will be filled with blank looking files. The easier option is to use advanced renamer to change all the file extensions to jpgs. Here?s a link on how to bulk change extensions using cmd:
https://www.youtube.com/watch?v=JCYqLCb7vhY
Step 4.
Scroll through this list until you find the images you want to change. Open that file in Photoshop and change the image ensuring you don?t change the file name or dimensions and click save.
Step 5. When you have change the file you need to remove the .jpg extension back into file. Do this following step 3. And replace the orginal file in IMAGECACHE/20 with the file you just edited.
Step 6.
There is another folder to change as well:
C:\Users\USERNAME\AppData\Local\Packages\Microsoft.ZuneMusic_8wekyb3d8bbwe\LocalState\ImageStore
Use the steps above to change the images within this folder!! Thats it.


